
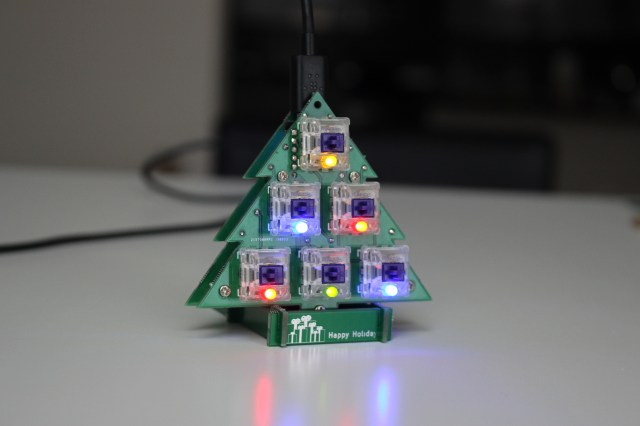
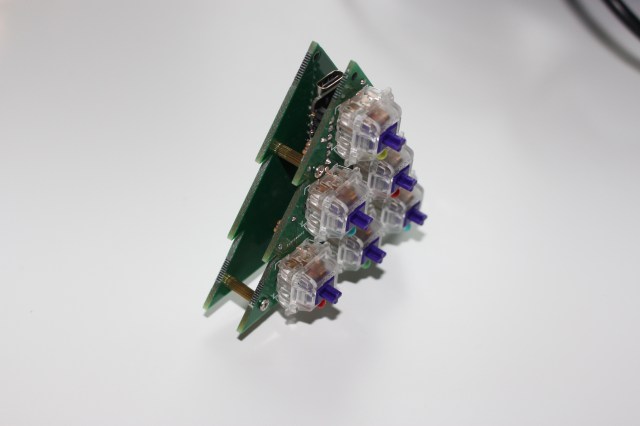
I’ve just built a nice 6-key Christmas Tree mechanical keyboard macro pad, and want to share a bit of a holiday mood with you 😃
Parts
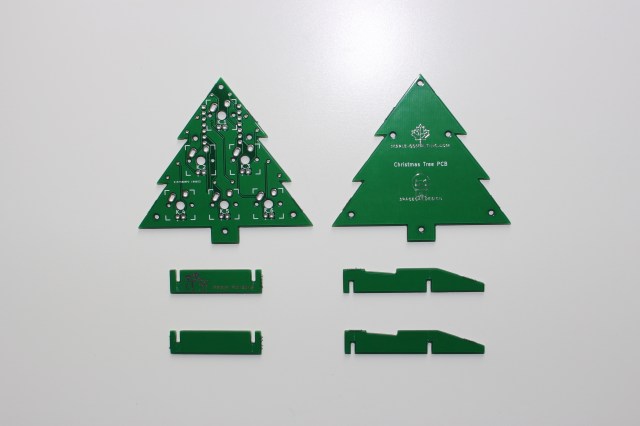
The PCBs are currently available on SpaceCat Design website. All other parts for the build could be found on their website too, or any other DIY mechanical keyboard store.
For this build, I used Elite-C as a ProMicro replacement (because of the USB-C) and Zealios V2 switches, as they’re my favorite so far 🙂

A full list:
- PCBs from SpaceCat Design
- Elite-C
- Zealios V2
- 3mm LEDs from Adafruit
- Resistors
- 10mm M2 Stand-Offs and Screws
Build
That was a pretty easy and fast build, took about an hour to complete. It’s important to solder parts in the right order. I’ll provide a few build steps with the photos to make this clear.
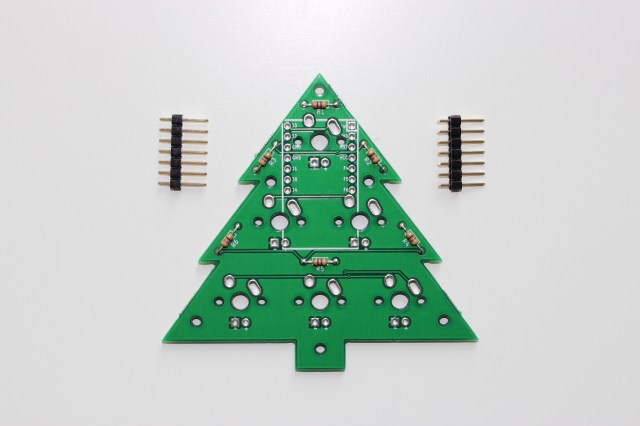
1. Remove all support material from the PCB
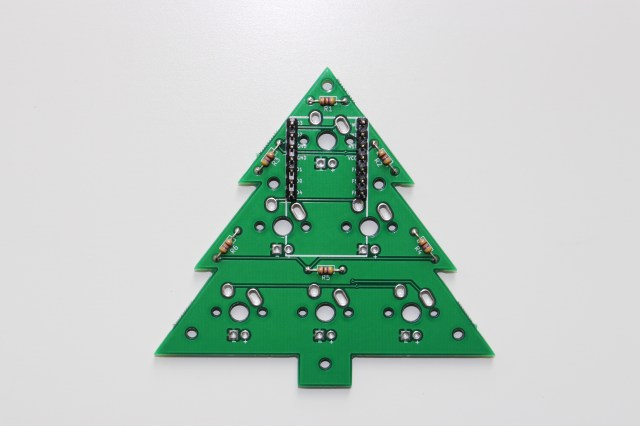
2. Solder diodes on the back of the main PCB

3. Cut and solder header pins for the ProMicro
4. Solder switches and LEDs. Make sure a longer LED leg is soldered to ‘+’ pad

5. ProMicro/Elite-C

6. Stand-offs and the second PCB
Flash the Elite-C
The Christmas Tree uses QMK and the flashing process is the same as for any other QMK board.
ProMicro and Elite-C use different bootloaders, you have to run the right command based on your choice of microcontroller board:
Elite-C
make christmas_tree/V2017:default:dfu
ProMicro:
make christmas_tree/V2017:default:avrdude

Happy Holidays!
