
ErgoDox is an open-source split ergonomic mechanical keyboard.
And being open-source means that you can build it completely by yourself!
I built an ErgoDox keyboard a few months ago and have been using it full-time ever since. I definitely enjoy typing on the ErgoDox and want to describe the build experience just in case someone finds it useful.
Here is my 30-min build video:
Parts & Tools
There is an option to get an ErgoDox kit on Massdrop. It includes everything you need for the build. But unfortunately you can’t just order one there at any time you want. It starts only when some minimal amount of people request the same kit, I waited for a few months but no luck. So I ordered all parts from ProfetKeyboards, Mechanical Keyboards, WASD Keyboards, and Amazon.
Parts:
- Printed circuit boards (PCB) – $25
- Teensy controller + diodes, resistors, connectors – $58
- Cherry MX Brown switches (80) – $52
- Cherry profile PBT blank keycaps – $23
- Acrylic matte black case – $100
- Costar Stabilizers (Stabilizer Clips, Springs, Inserts) – 7$
- Nylon wrist pads – $17
- TRRS 3.5mm cable – $8
- USB A-Male to Mini-B cable – $5
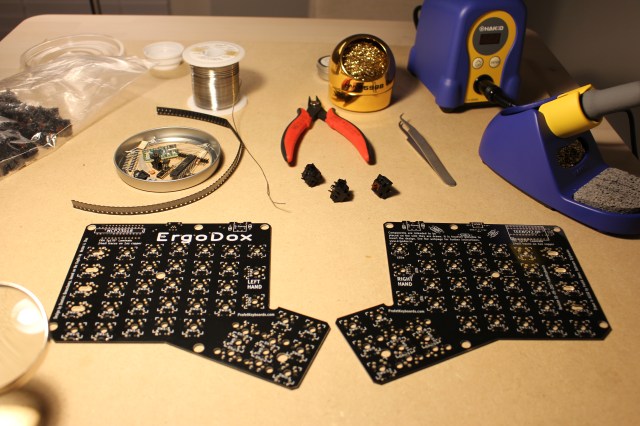
Tools:
I chose Cherry MX Brown switches for this build. They are tactile. And they aren’t clicky so I can use this board at work.
Build
The build process described pretty well on the ErgoDox website so I just followed the instructions there.
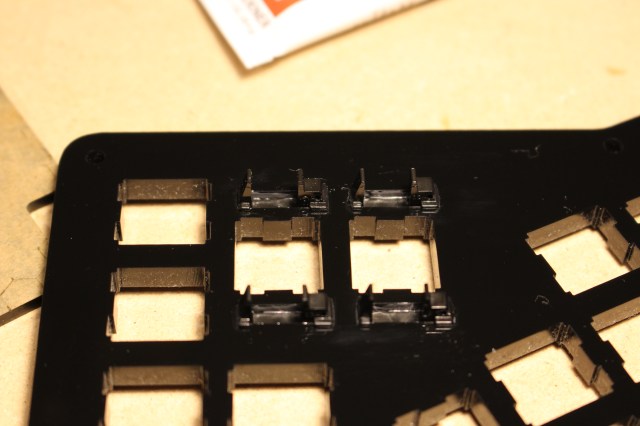
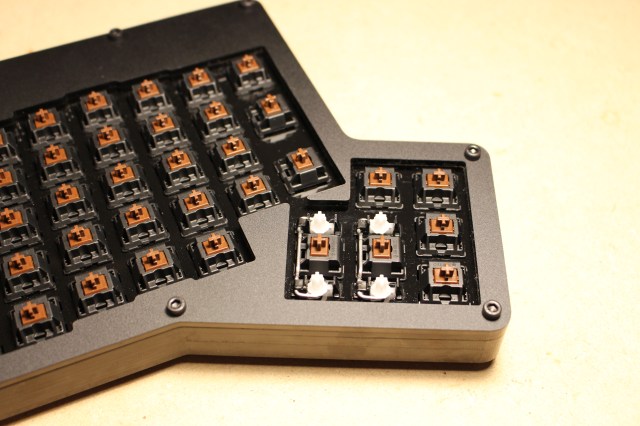
The only thing that I’ve added is mounting stabilizers for 2u keys on the thumb clusters.
Here are some photos from the build process, see the video for more details:
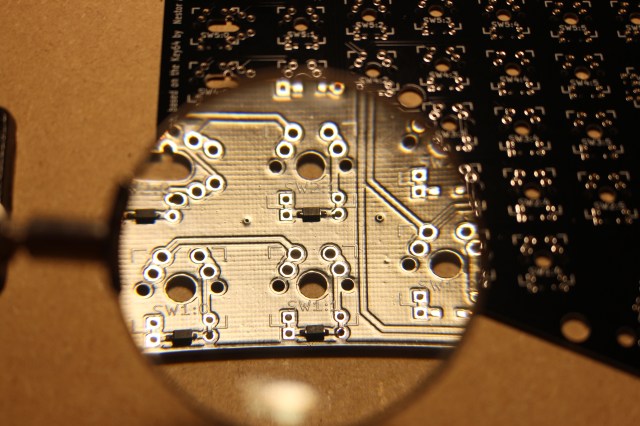
PCBs:
SMD diodes:
Teensy controller + I/O expander + connectors:

Costar Stabilizers.
Because these were originally designed to be mounted on a thin metal plate, I’ve had to do some modifications here. Clips were cut, sanded, and then glued to the acrylic layer with epoxy.
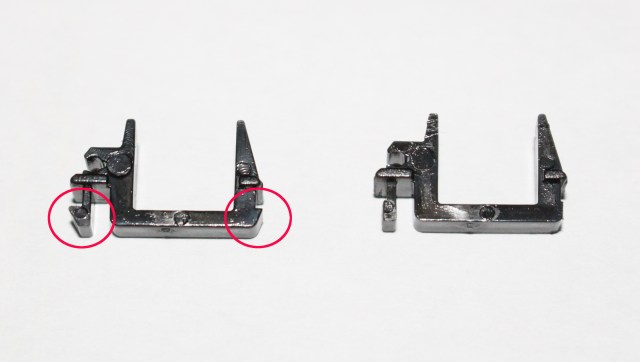
Original Costar clip is on the left and modified is on the right.
Switches are soldered, case assembled:
Cherry profile keycaps:

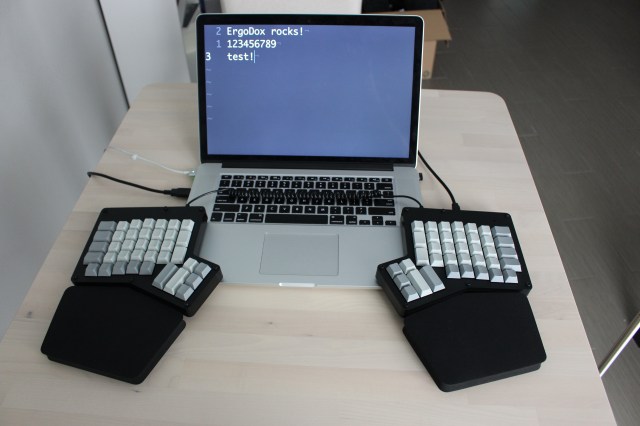
Final result:
Final Thoughts
I’ve been using this keyboard on a daily bases for more than three months and I’m totally happy with my new setup. It’s really comfortable to type on.
This keyboard has an ortho-linear layout (all columns are linear) and I like it.
It took about one month for me to relearn touch typing.
And finally the programmable layout and dual-function keys – these are must have if you do any sort of programming!
Overall this is not the cheapest board and it requires some time to build it. But it’s definitely worth it if you spend most of your working day at the keyboard!
